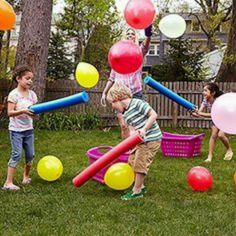
When you are trying these activities out, remember that 100% of the children should be active 100% of the time during each activity. That means having enough equipment for everyone, and some budgets don’t have a lot of room for play/movement equipment. This page will have patterns and directions for making equipment that you can use during your movement activities.
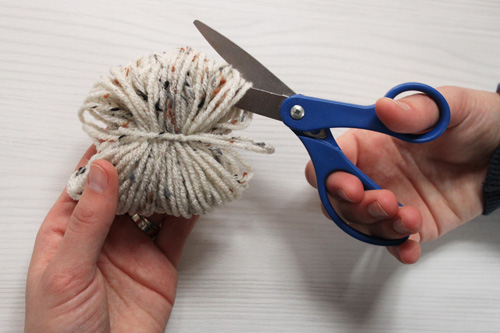
Yarn Balls
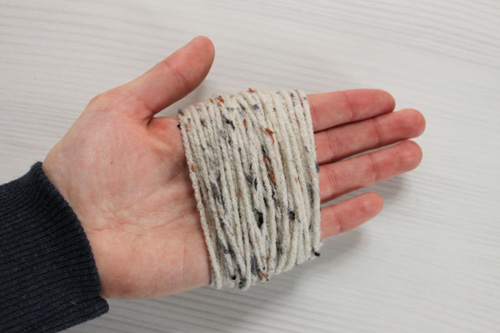
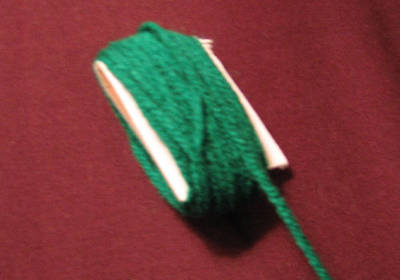
Begin with One skein of yarn, One piece of thick cardboard, 5 inches wide and 8 to 10 inches long.
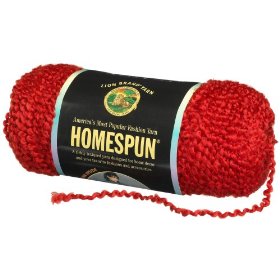
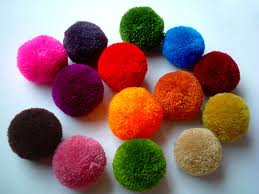
Wrap the yarn 20 to 25 times around the 5 in. wide dimension of the cardboard. Slide the yarn off the cardboard, and bind it in the middle with the yarn, while it is still attached to the bundle, to form a tied loop of yarn. Continue this procedure until all of the yarn is used up and in tied looped bunches. Then take two of the bunches and tie them together at the center, using several turns of the cord. This forms a bundle of two tied loops. Continue tying bundles together until all are in bundles of two. Take 4 of the double bundles and tie them together at the center, using several turns of the cord. This forms a thick bundle of 8 bunches. This is one yarn ball.

Hoops
You can get these supplies at most hardware or home improvement stores.
- 5/8 inch irrigation tubing
- 5/8 inch wood dowels
- Staple gun and short staples.
- electric tape. 6 colors; red, blue, yellow, purple, orange and green (primary and secondary colors)

- Begin with 5/8 inch irrigation tubing. Get enough tubing to make 7 foot lengths multiplied by the number of students you have, or the number of hoops you want to make. Cut the tubing into 7′ lengths.
- Cut the wood dowels into 2″ lengths. You will need one dowel for each hoop. For example; if you are making 12 hoops, you will need two feet of dowel, enough for 12 – 2 inch dowels.
- Use the dowel to hold the two ends of the hoop together as you make the irrigation tubing into a hoop or an ‘O’ shape.
- Use the staple gun to staple the two sides of the tubing together, the staple will anchor into the wood dowel and help to keep the hoop together.
- Take one color of tape and first tape the joint where the hoop comes together, be sure to cover over the staple.
- use the tape to ‘stripe’ the hoops and make them different colors.
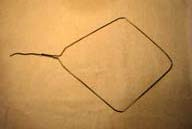
Coat Hanger Balloon Paddle
Materials:
- One light-weight metal coat-hanger per person
- One leg of a pair of old panty-hose per person (Runs are fine.)
Procedure:
- Pull down on the middle of the bottom of a metal coat hanger until it makes a diamond shape.
- tuck one leg of a pair of panty hose into the other leg.

- Open the top of the panty-hose leg, and pull it over the diamond part of the coat-hanger.
- Bend the top, hooked part of the coat hanger until it bends around to touch itself, forming a small teardrop-shaped handle.
- Pull the open end of the pantyhose leg over the teardrop and then wrap it around and around the tear-drop to cushion it.
- Wrap electric or racket tape around the
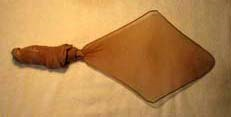 cushioned handle area, to hold the panty-hose in place, and to form a handle. Voila

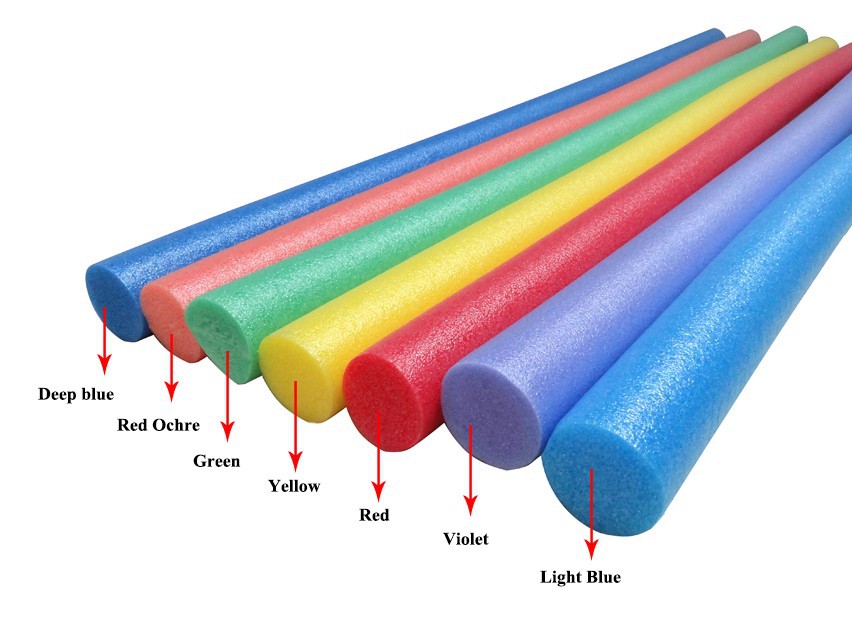
Foam Noodle Bats
This is a quick, easy and inexpensive way to create enough bats for every child! Take the Pool noodle (best with no center hole) and cut them into 2-1/2 foot lengths. Choose a diameter 2-1/2 inches or less.
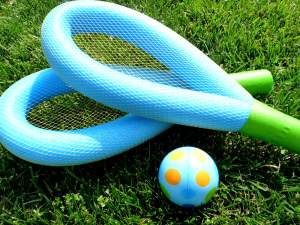
Foam Noodle Rackets
For this project we used pool noodles from the Dollar store, duct tape and mesh bags that lemons are packaged in. So, save those little mesh bags as we will be finding more uses as time goes by.
These racquets are perfect for summer game time or an outdoor party activity.
What You Need:
- Foam Pool Noodles
- Mesh veggie/fruit bag
- Duct tape
- Small serated knife
- Lightweight rubber ball
What to Do:
- Cut away a 6 inch piece (half of the bottom on each end). You want to be sure to cut “matching” mirror sides so that when you tape your handle together it will form a smooth cylindrical handle. Also cut a slight angled piece upward from your original cut, so that the area above the handle “fits” together well.
- Tape the handle securely.
- Slide the racquet into the mesh bag and tape, tauntly, to the handle.
One of the nice things about these racquets is the safety aspect for young kids.
Milk Jug Scoopers
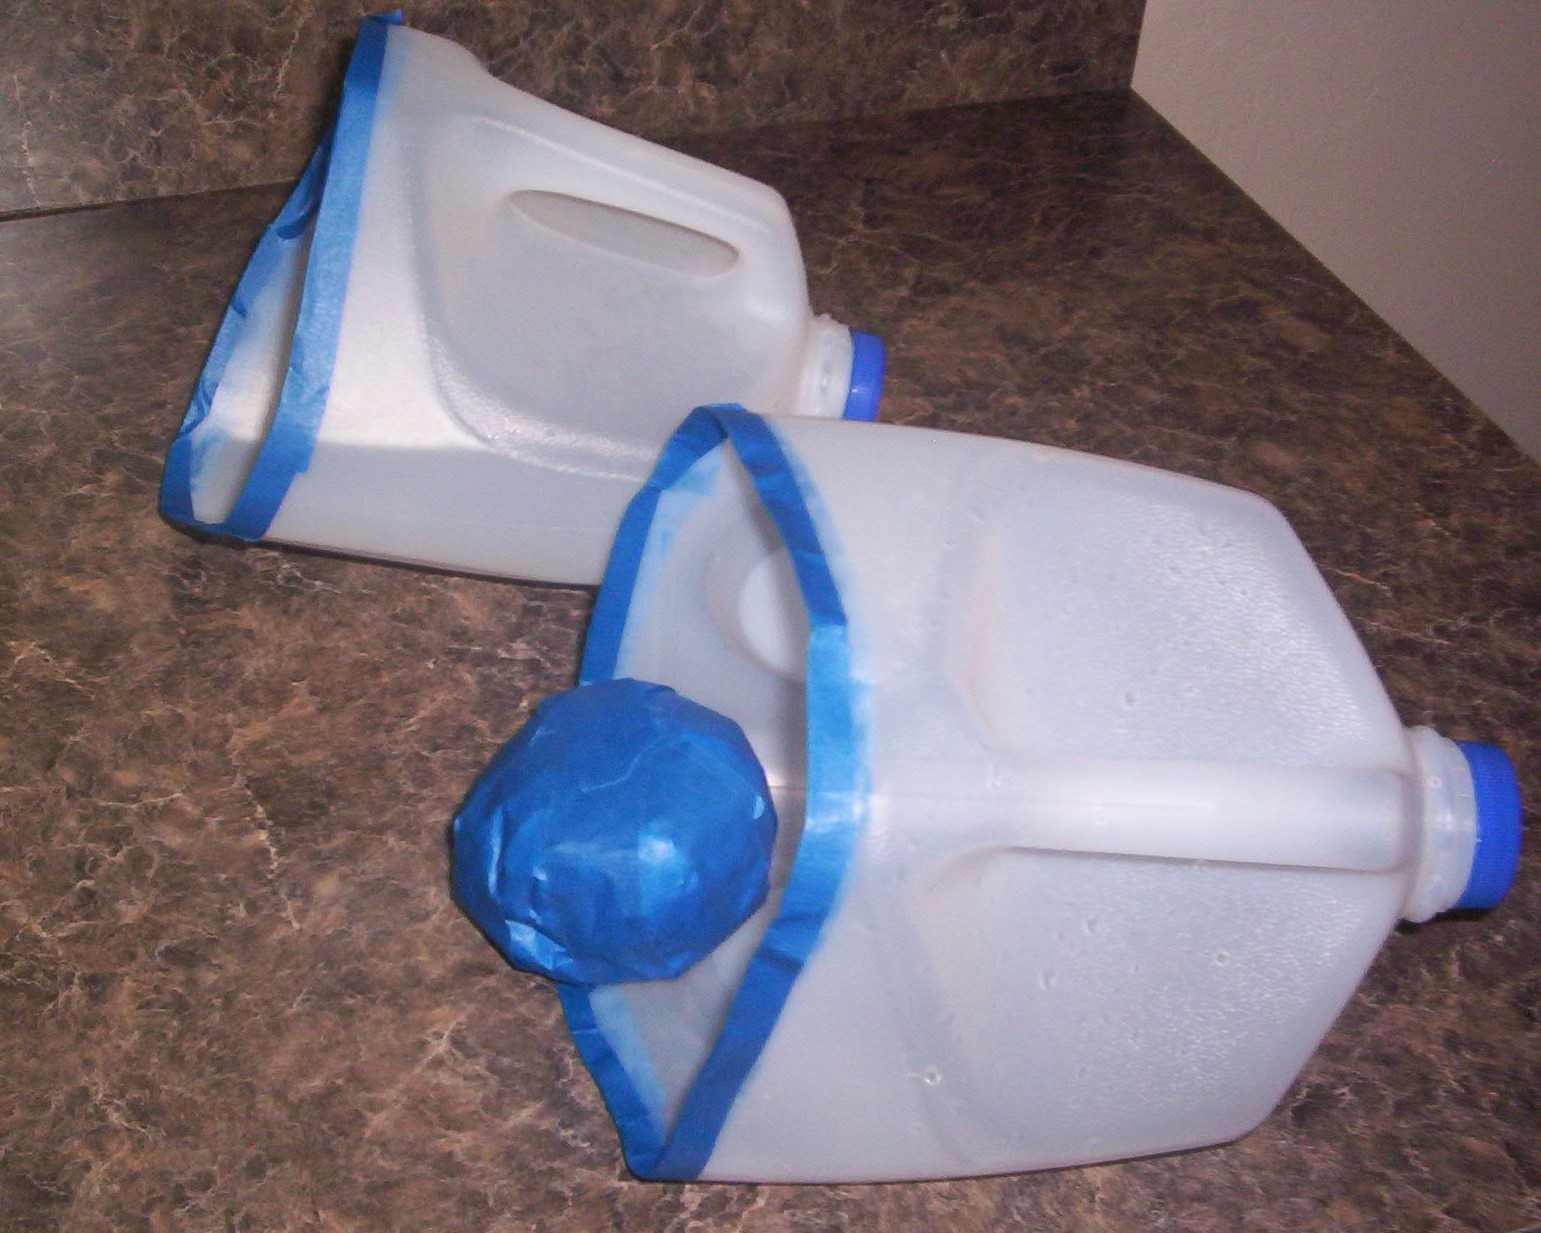
Julie Loewer, an Occupational Therapist shows you how to make a ball scoop catcher game by up-cycling a milk jug. You will need an empty recycled milk jug, serrated knife to start, scissors to cut the container in half.

Leave a comment